
This is the design I worked of:

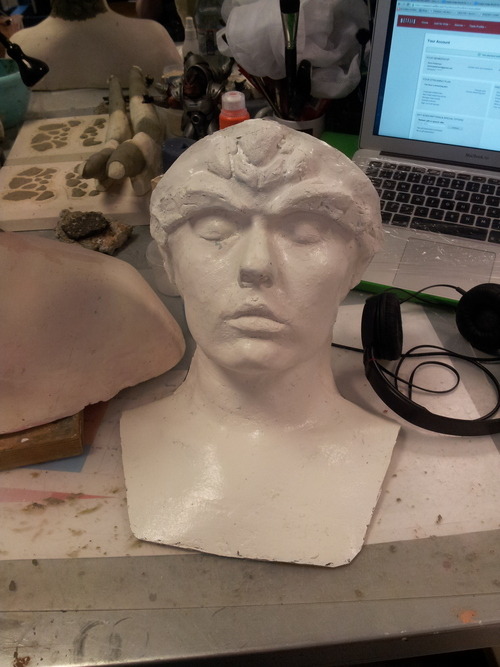
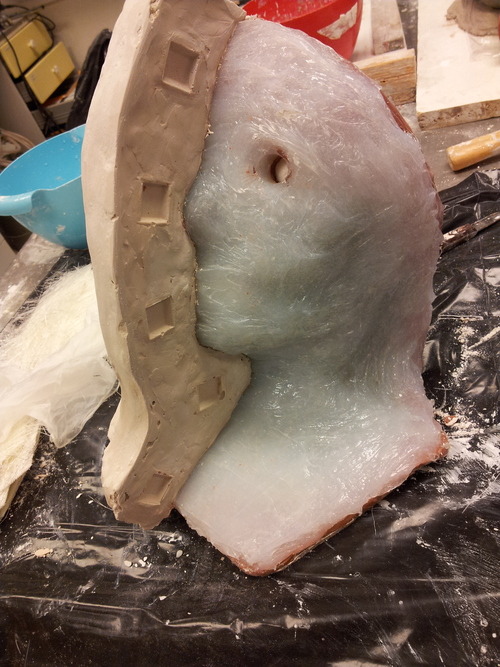
When making a silicone mould like this you first need a positive to sculpt on. Here I have my friend Sara's face in fiberglass and the first staged in the sculpting process.
Second I have the finished sculpt of the design I want casted. Ready with added flash edge. Both the flashedge and the pipes are there to have a whole through the silicone into the base, so when I make the plaster "cape" over later I will have some points to stabelise the negative and positive when I finally make a casting.
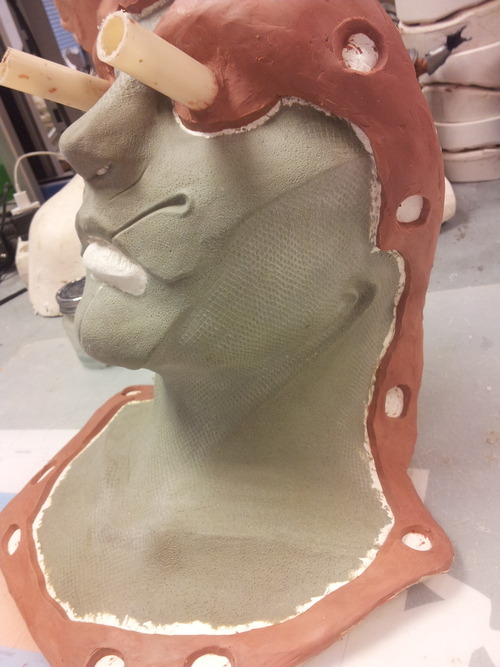
I use a pretty hard silicone, Elastosil M 4644, for this.
First i make a this layer carefully over the entire sculpture. Making sure to get ever detail covered.
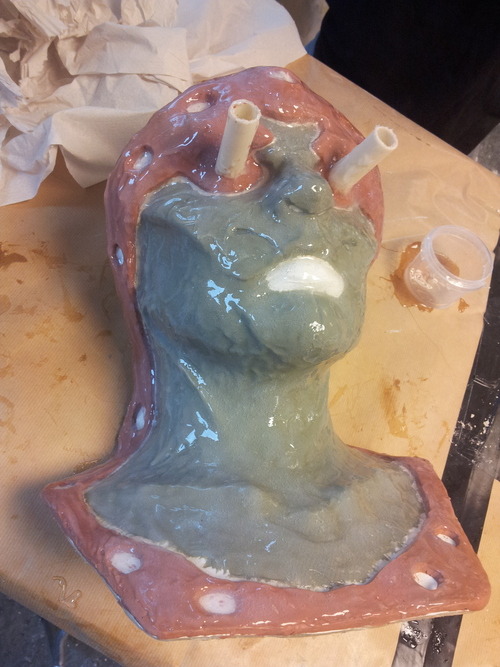
When that layer has cured I build up a second 2cm layer. Let it cure over night.
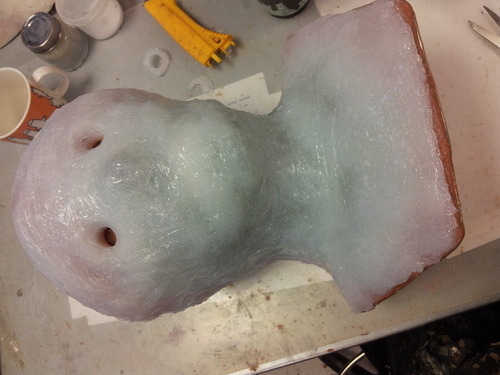
Then it's just to make a to part stabelising plaster "cape". Like I mentioned before I build the plaster up with glassfiber to make it a bit more rigid.
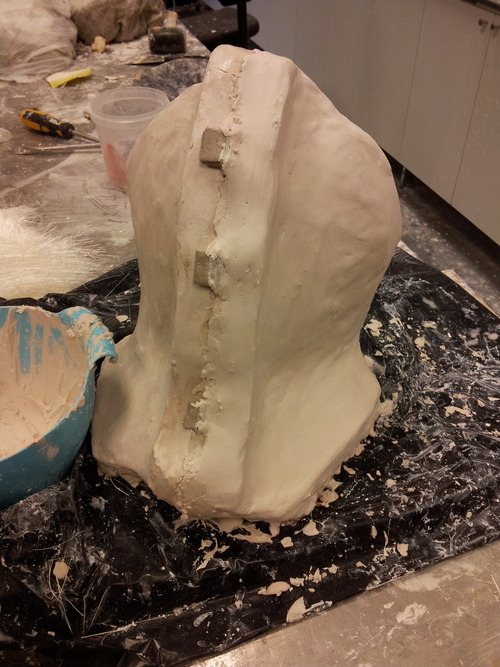
Now it's just to clean out the mould and you should be good to go ^^
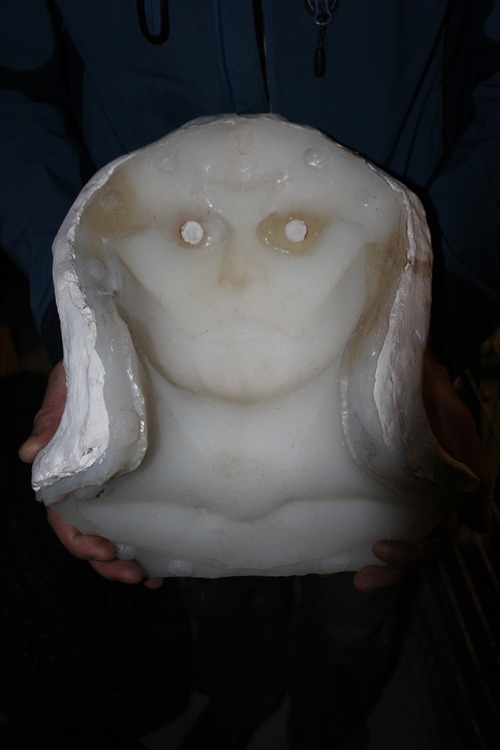
As I said I used this as a two-part mould to cast a silicone application, but I could use the silicone part to cast a hard polyurethane piece. The technique is the same :)
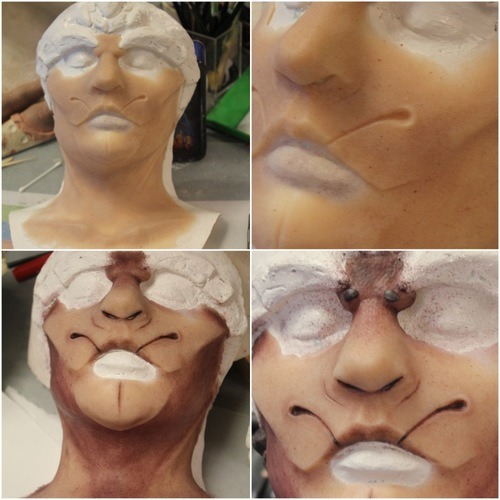
Finished makeup:
Makeup+applications+photo
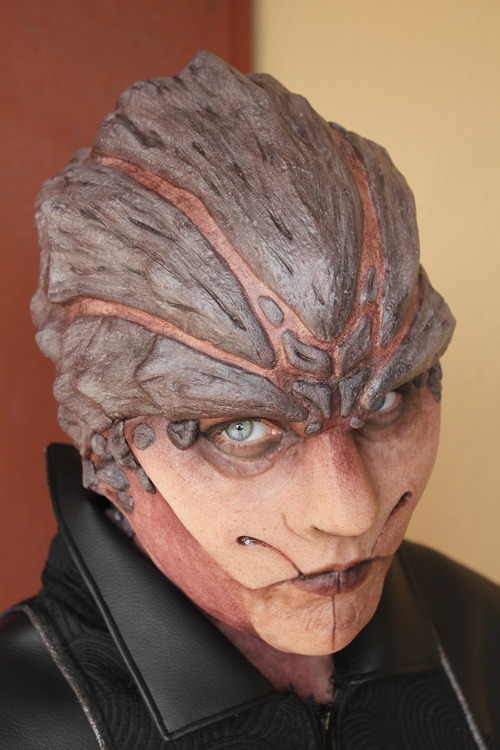
by me, Karin Olava FX
Model: Sara from Sara & While's costume closet
Ingen kommentarer:
Legg inn en kommentar